
Put Your App Online With DigitalOcean App Platform
Created by Colin Alston
Change the production database
Locally your app uses SQLite as the database to store your ideas. It’s easier to use another database on DigitalOcean deploys. To deploy with DigitalOcean we’ll change the database in production to use PostgreSQL.
Install the pg gem
Open the Gemfile file in your Text Editor and change the following line:
gem "sqlite3"into these lines:
group :development do
  gem "sqlite3"
end
group :production do
  gem "pg"
end
Next, run the command below to setup the new database gem:
bundle install --without productionUpdate the database configuration
Up next, you’ll need to change the database configuration for the production environment.
Explain what the different Rails environments are. What is “production”?
Open the config/database.yml file in your Text Editor. Change the following lines in the file:
production:
  <<: *default
  database: storage/production.sqlite3
to these lines:
production:
  adapter: postgresql
  encoding: unicode
  pool: <%= ENV.fetch("RAILS_MAX_THREADS") { 5 } %>
  database: railsgirls_production
  username: railsgirls
  password: <%= ENV["RAILSGIRLS_DATABASE_PASSWORD"] %>
Save the changes in Git by creating a new commit. We’ll need to update our app in Git to deploy these changes.
git add .
git commit -m "Use PostgreSQL as the production database"
Create an account
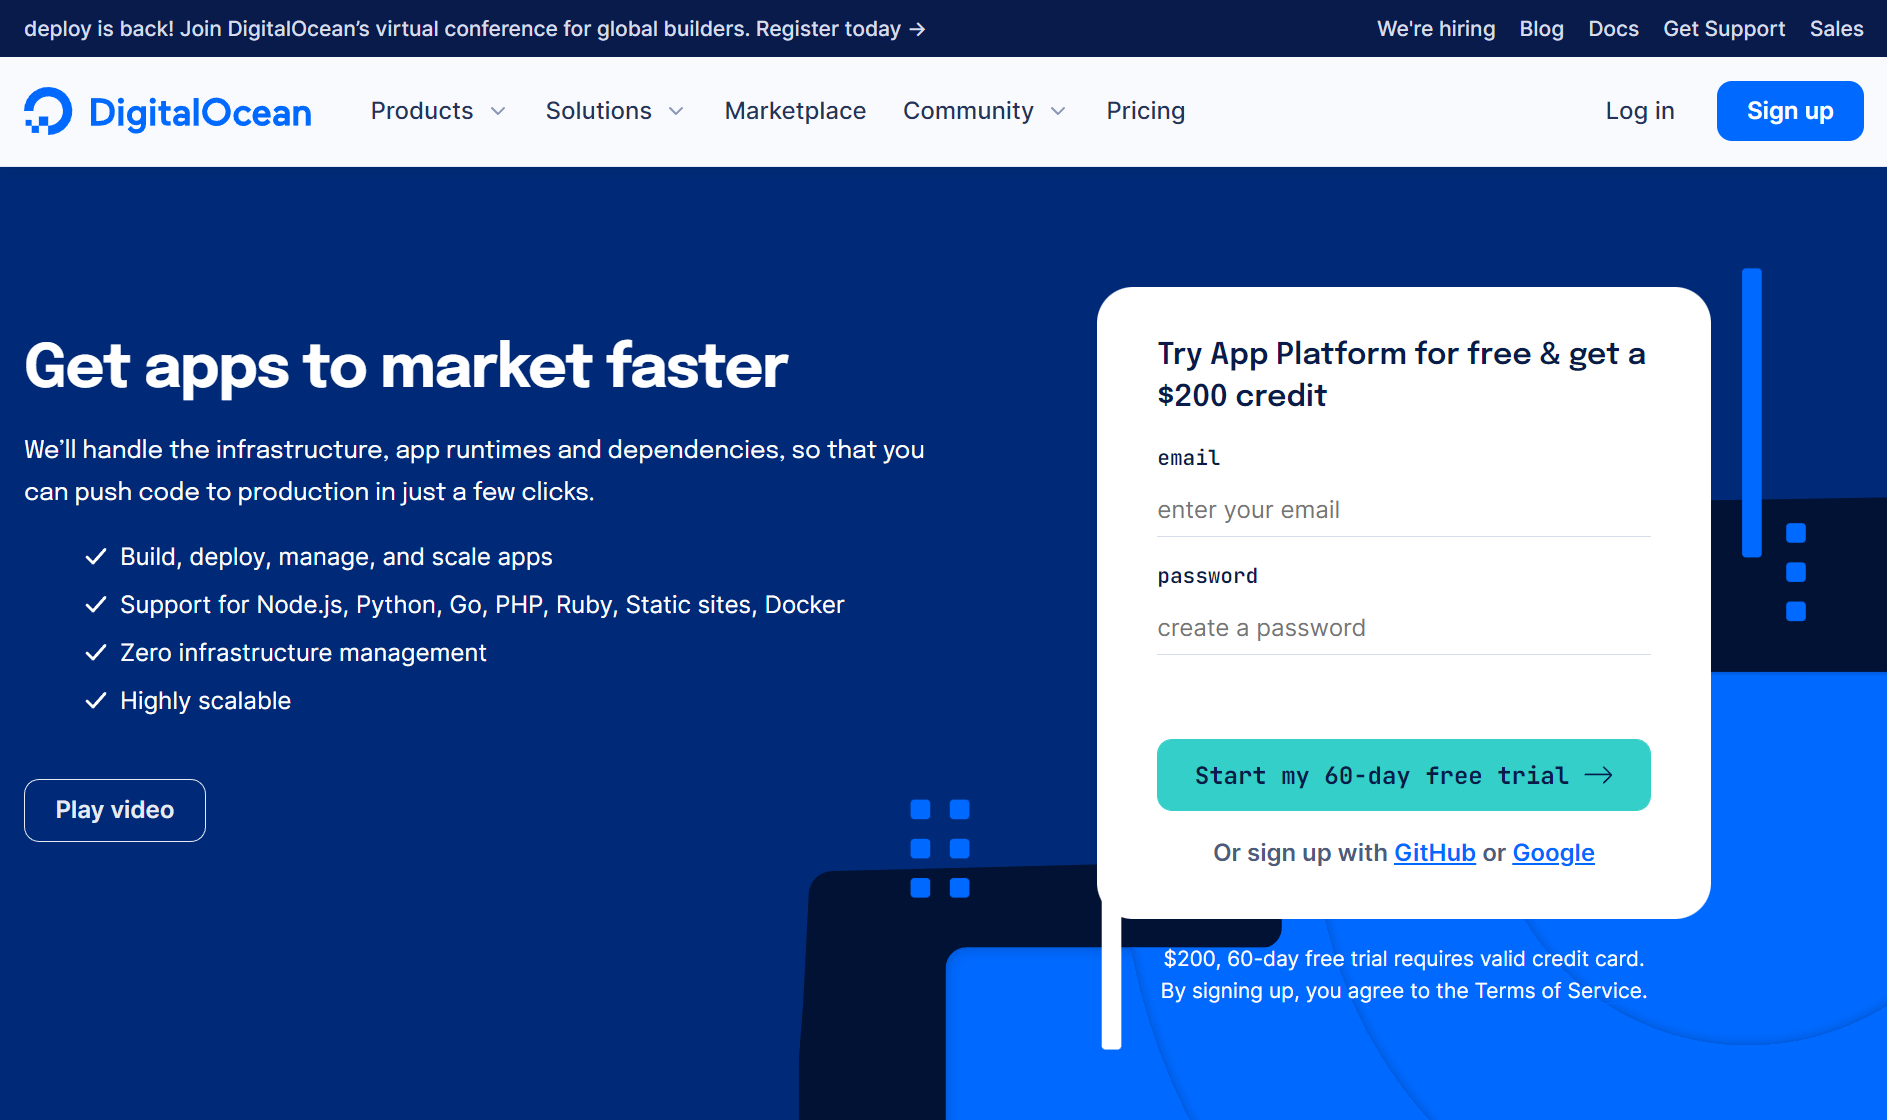
Head to https://www.digitalocean.com/go/app-platform and sign up for the 60 day free trial.
Sign up using Github to link your account

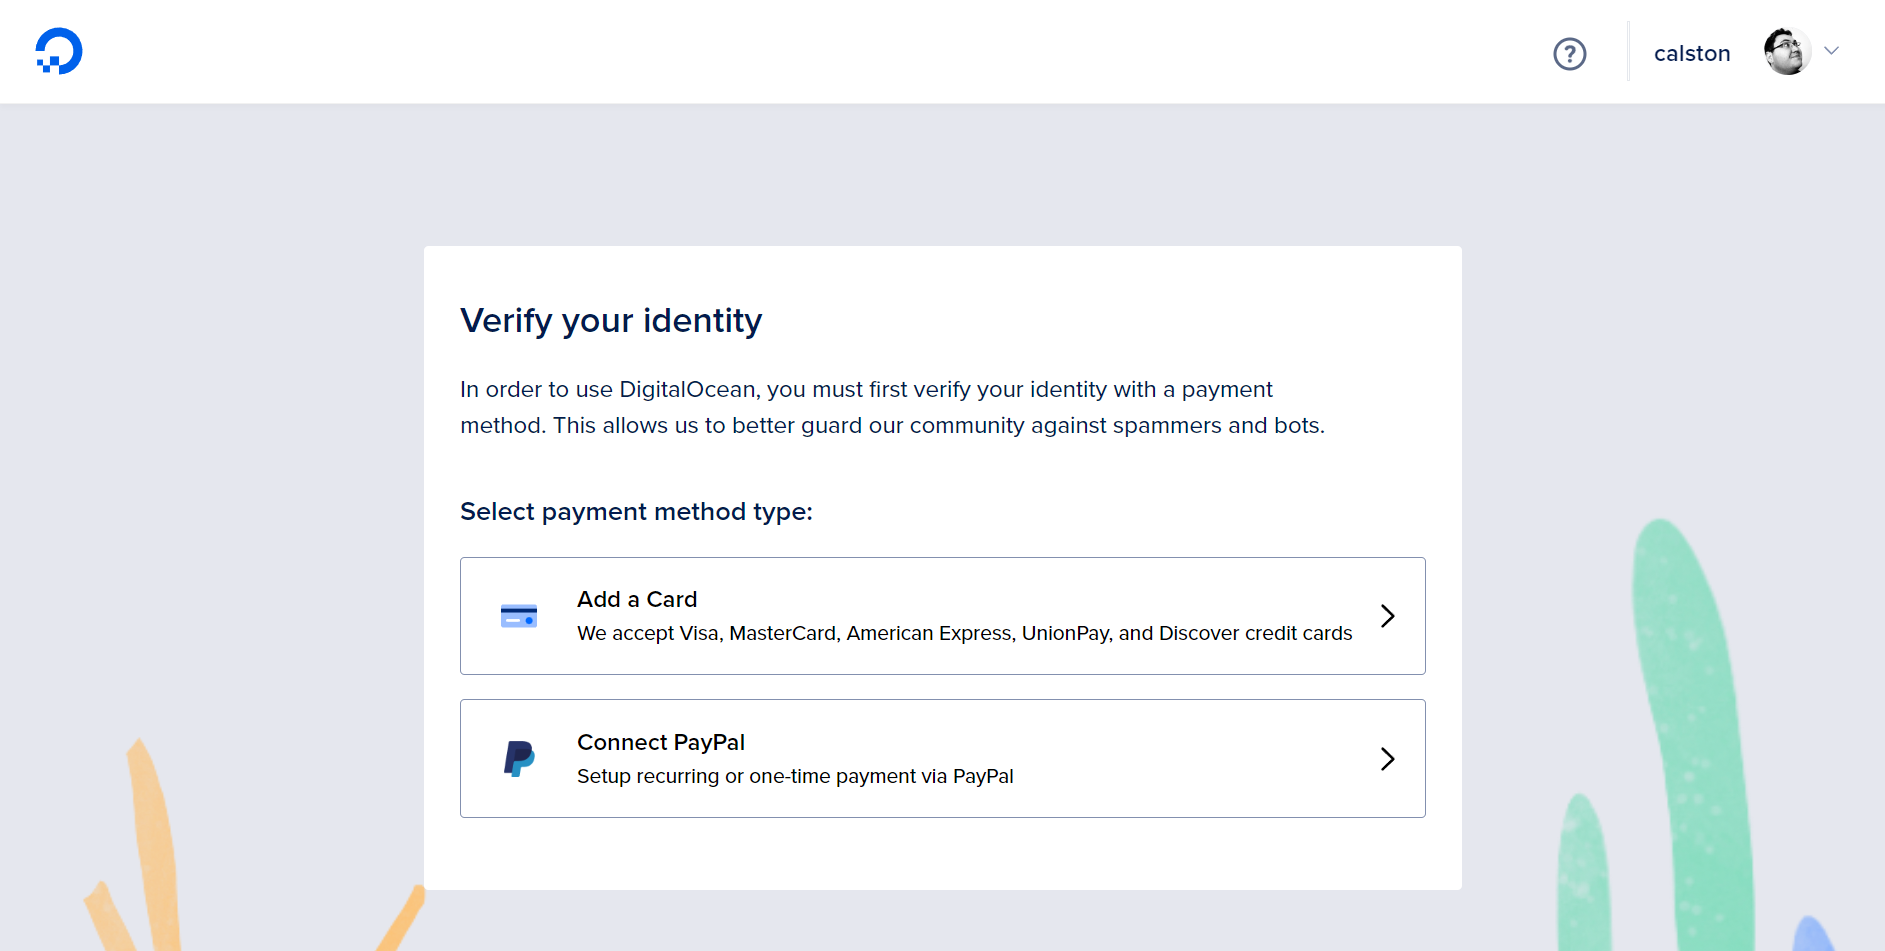
You will need a credit card but will receive $200 to start with if this is your first time using DigitalOcean.
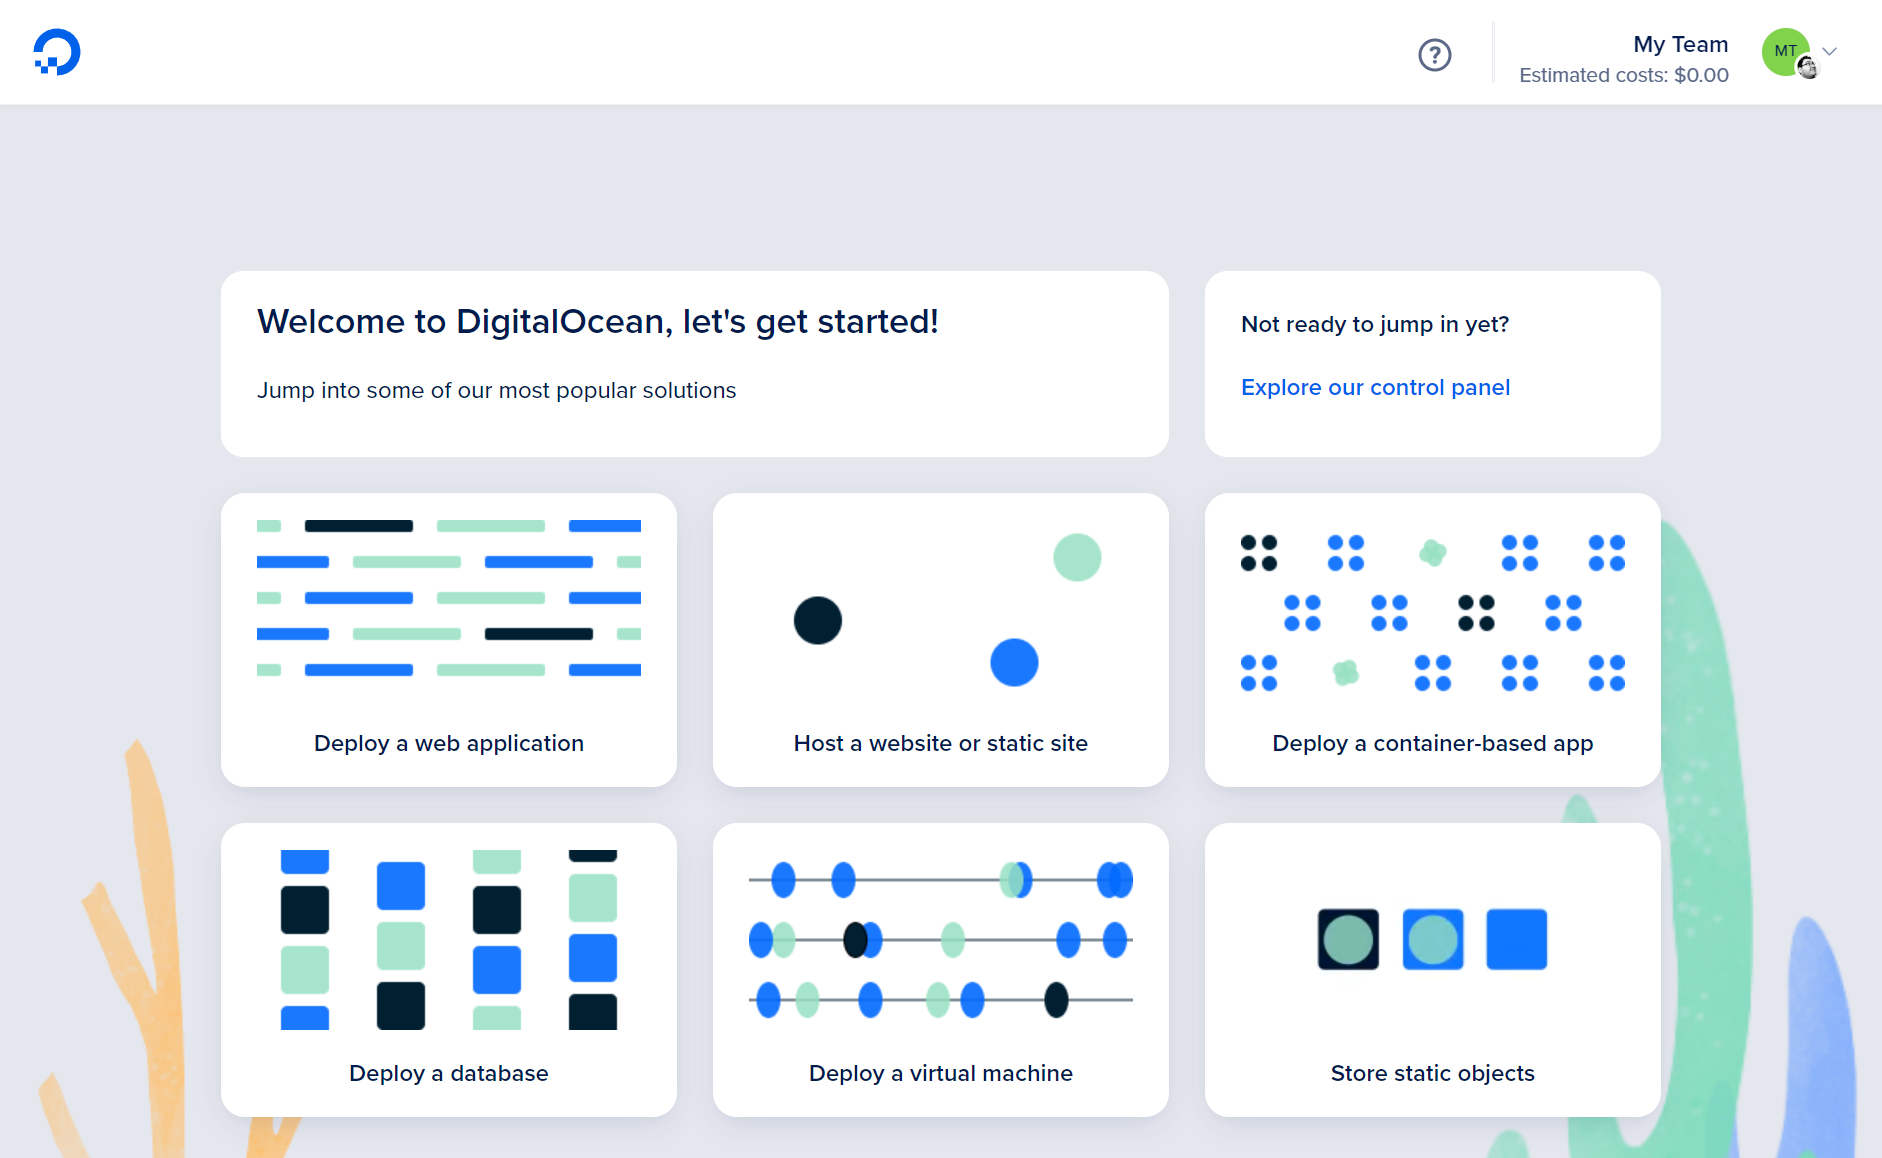
Create an application
Click on Deploy a web application to get started.
Choose “Deploy your web app” to add an existing GitHub repository
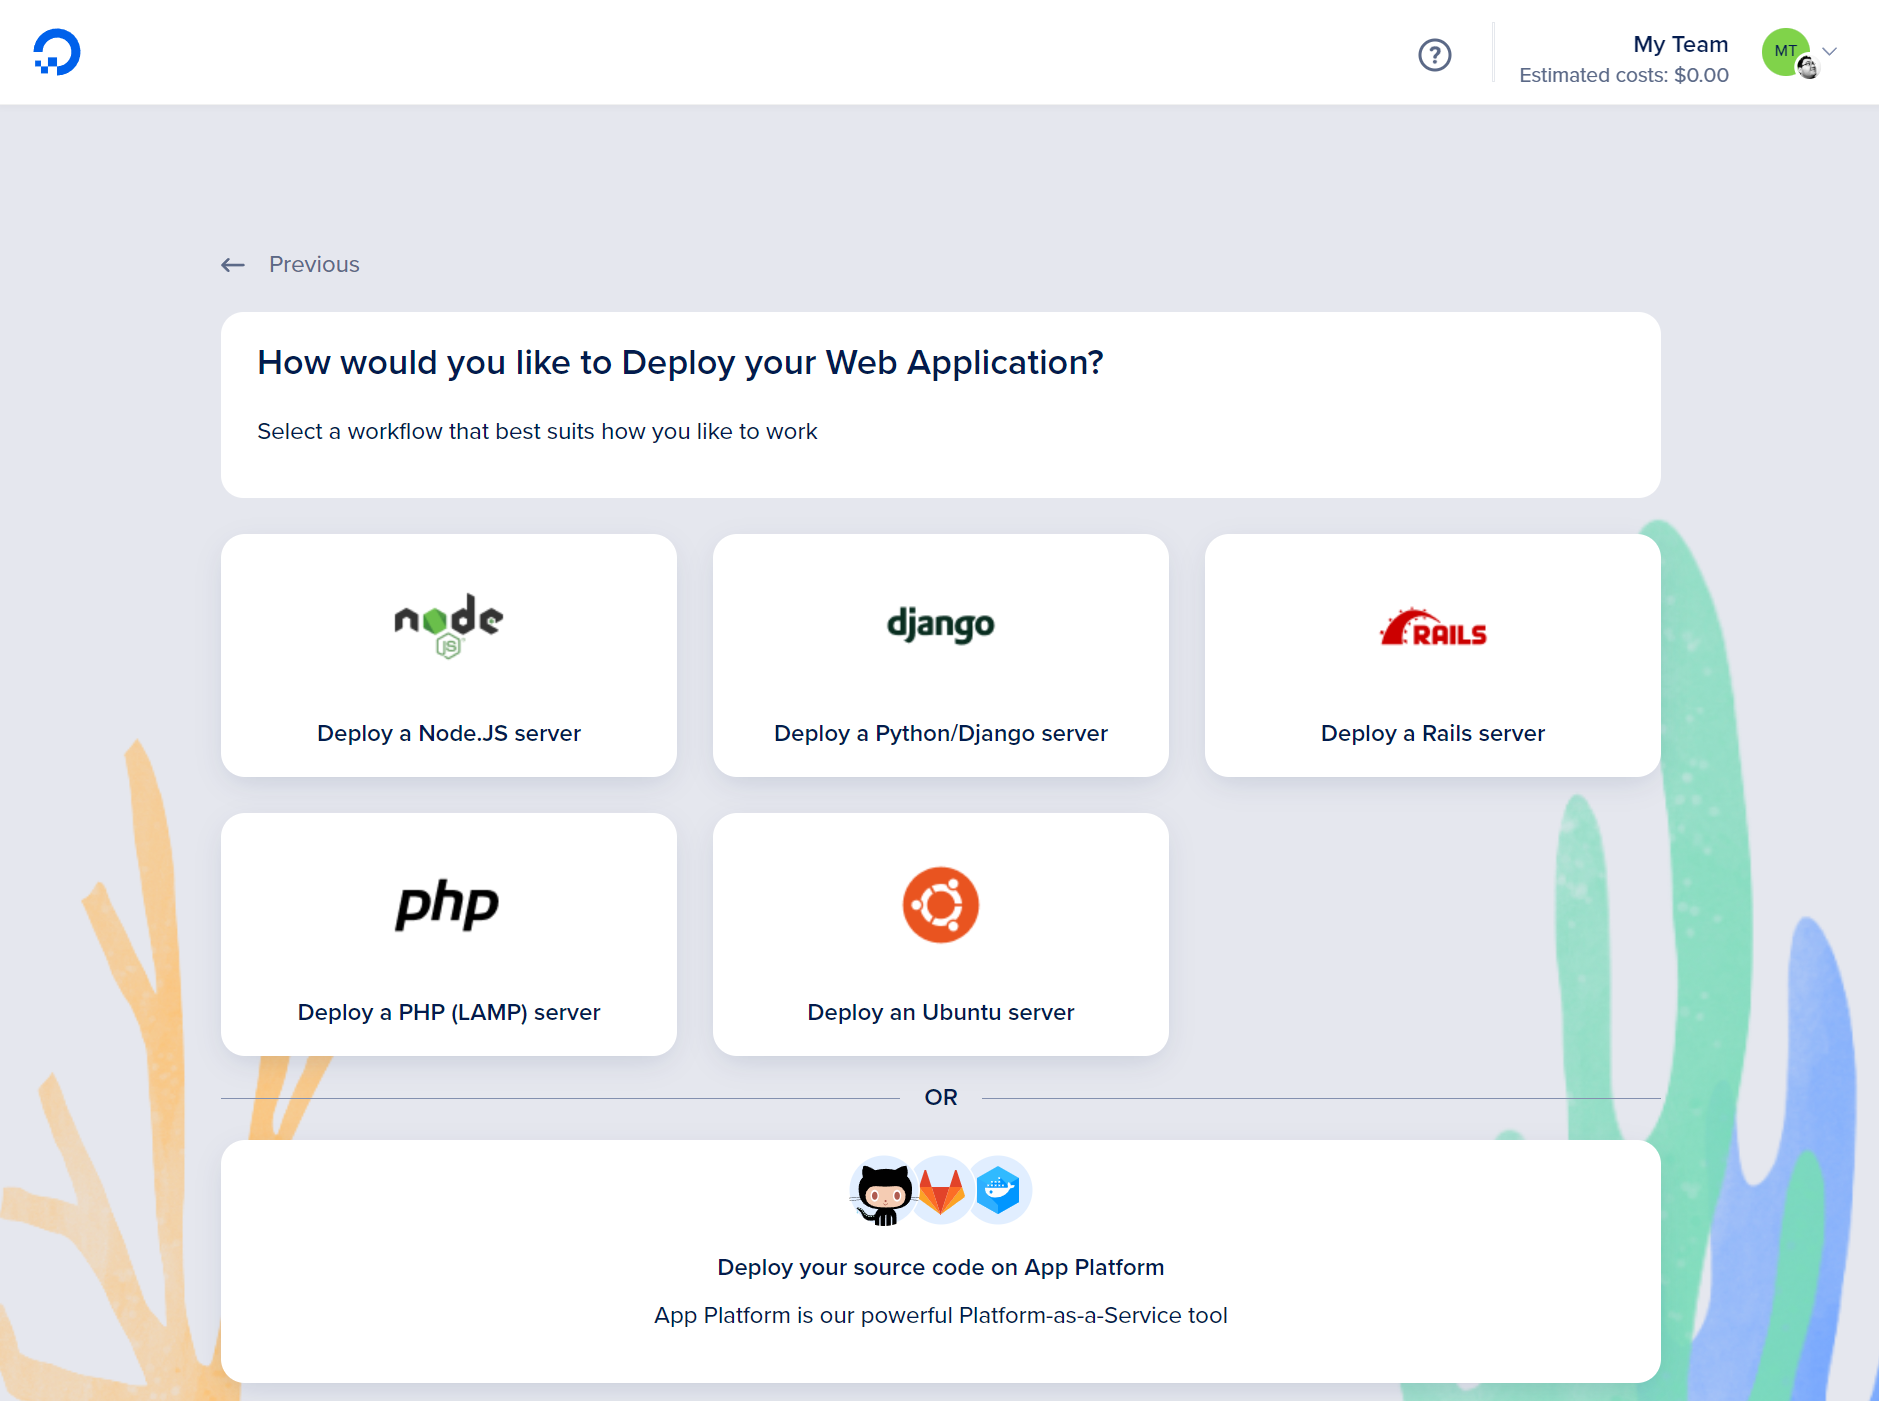
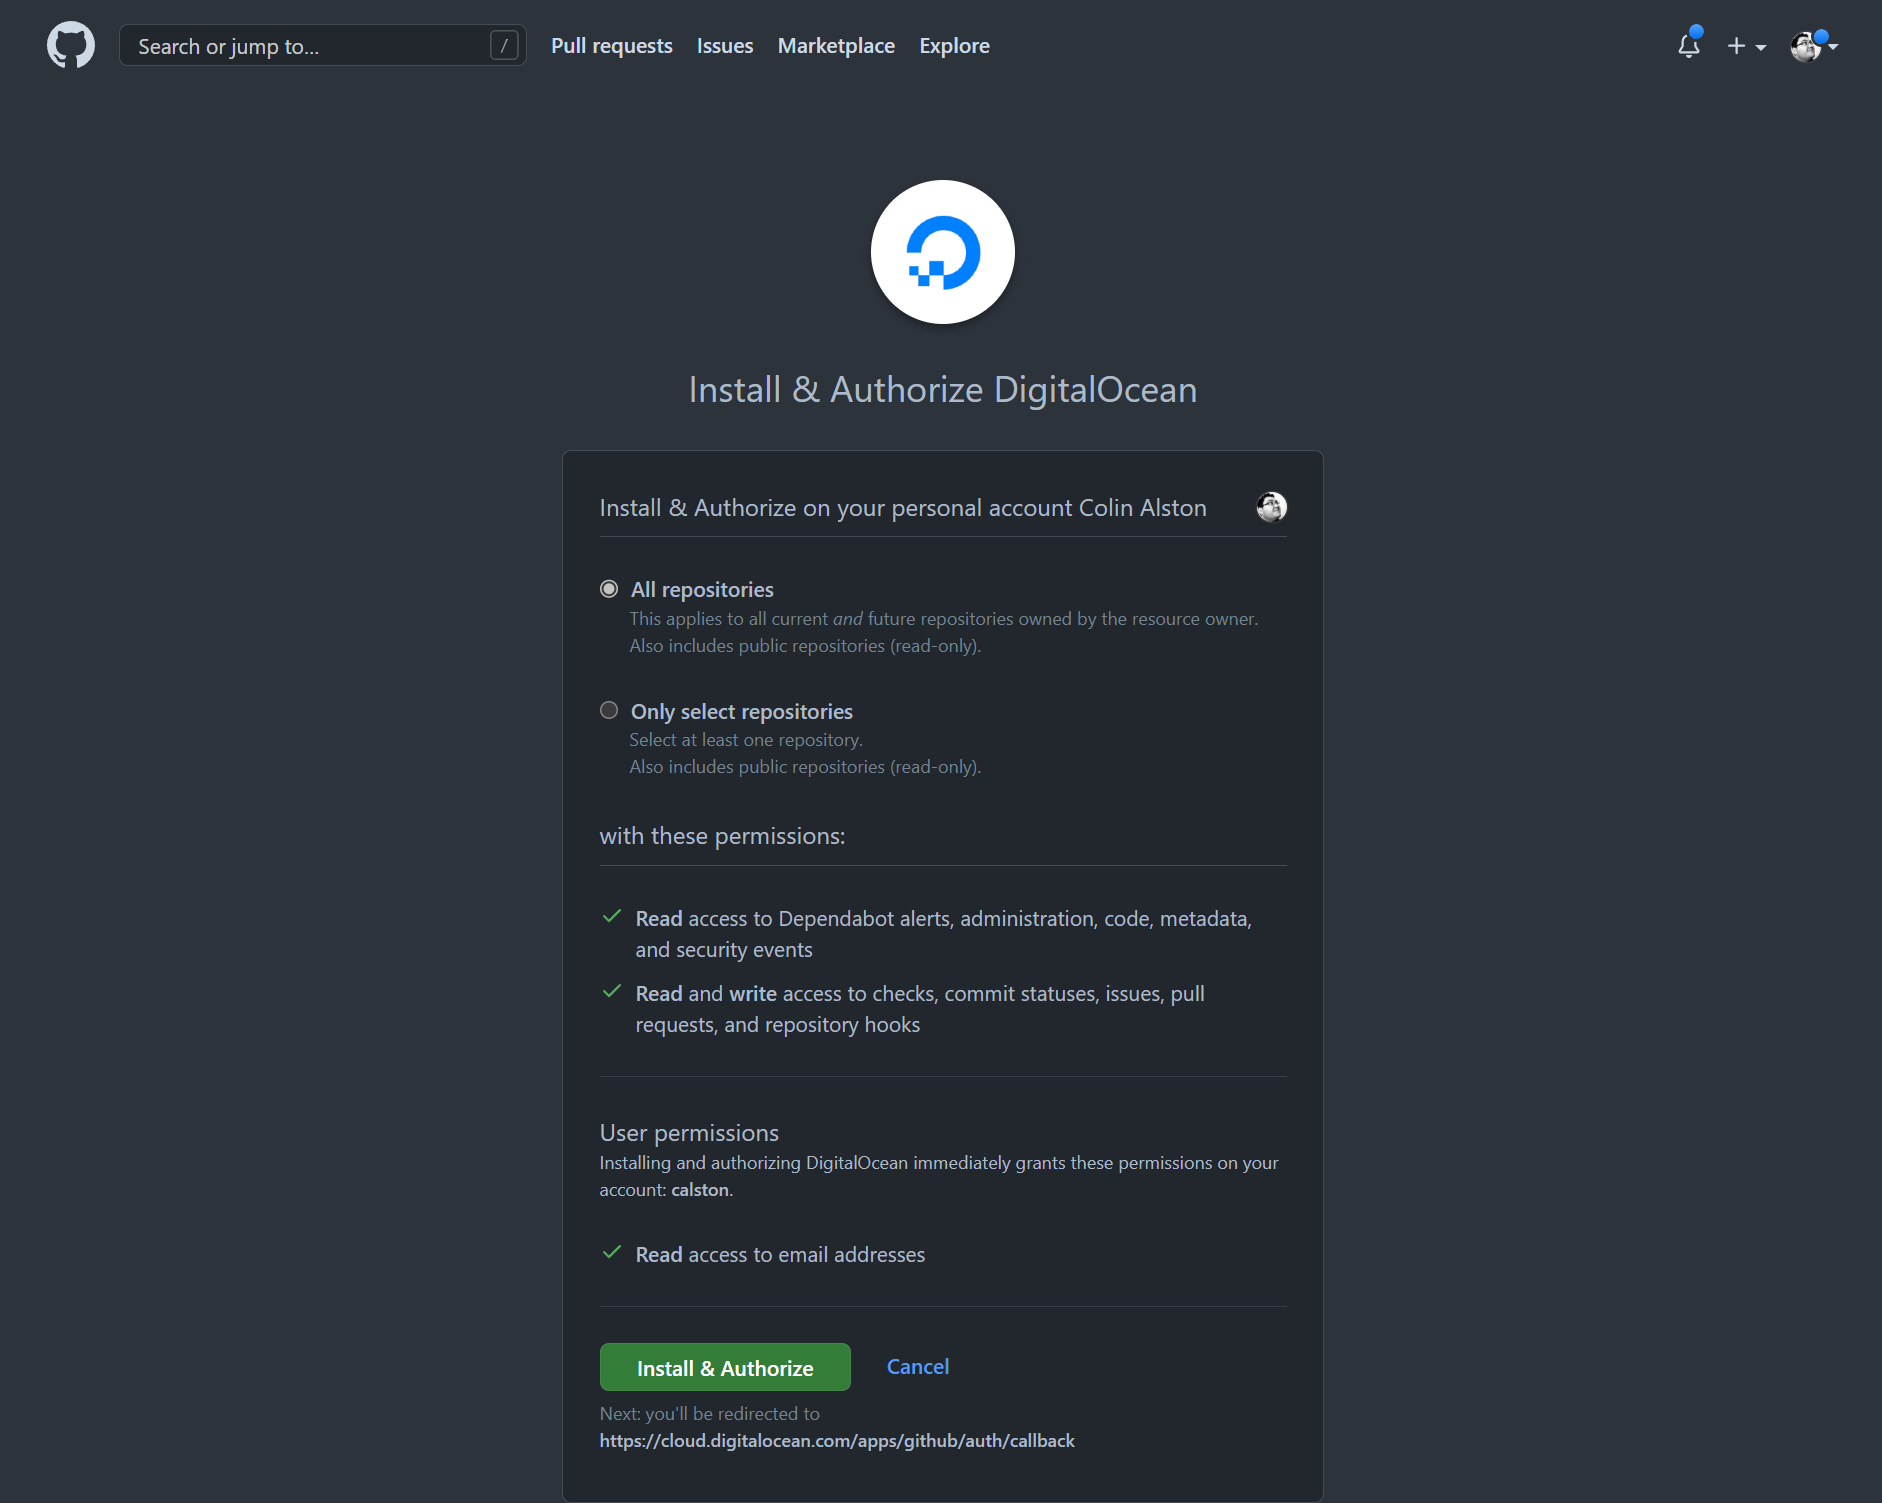
Authorize DigitalOcean to read your repositories
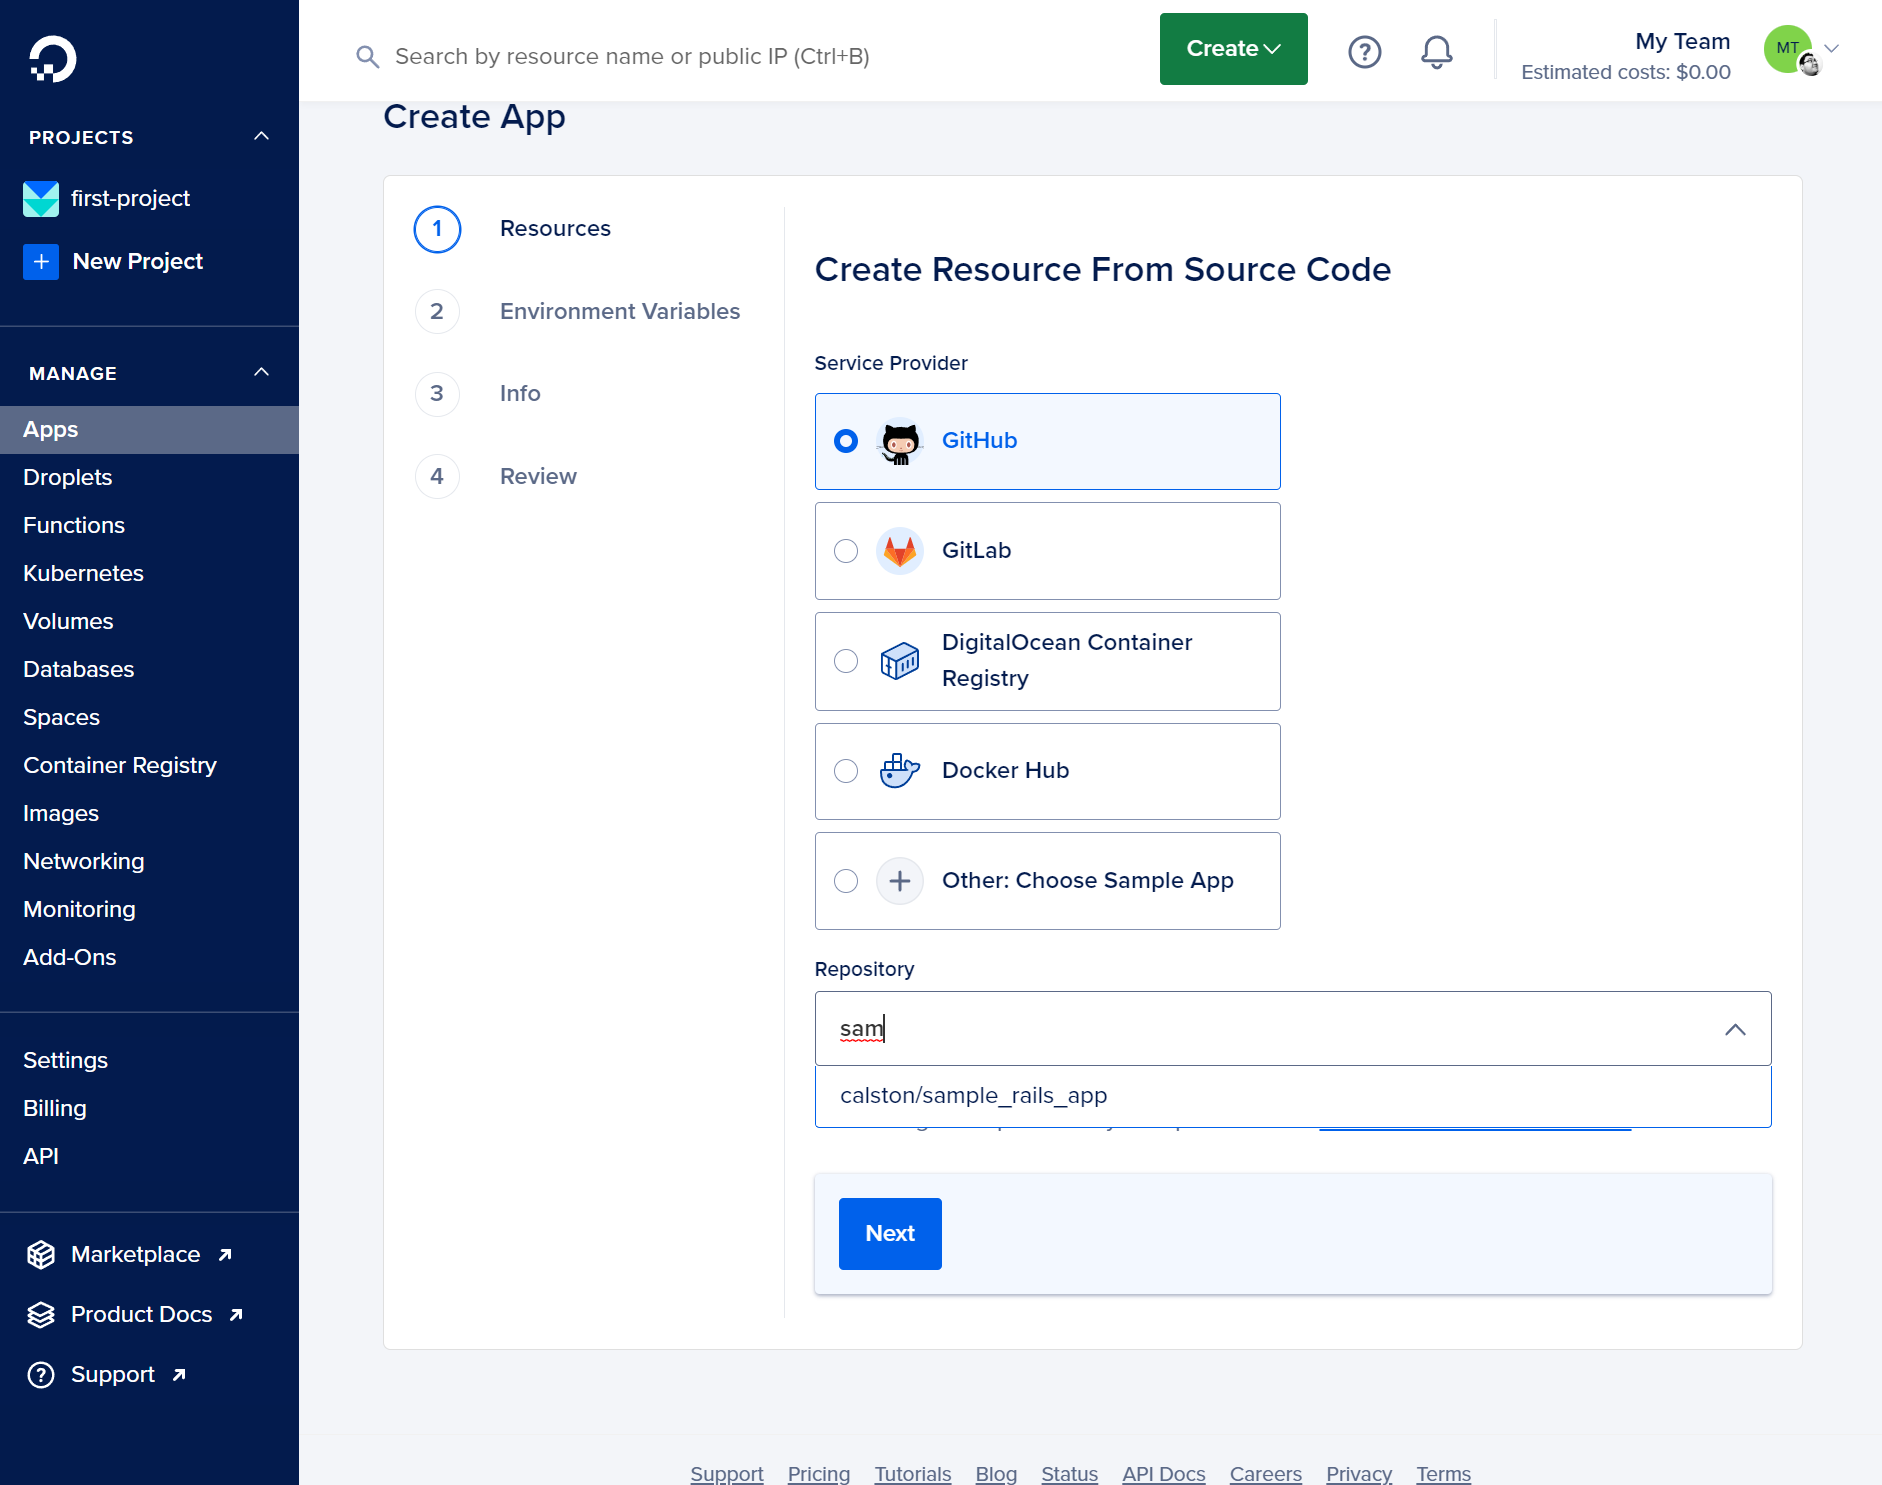
Select the repository for your application
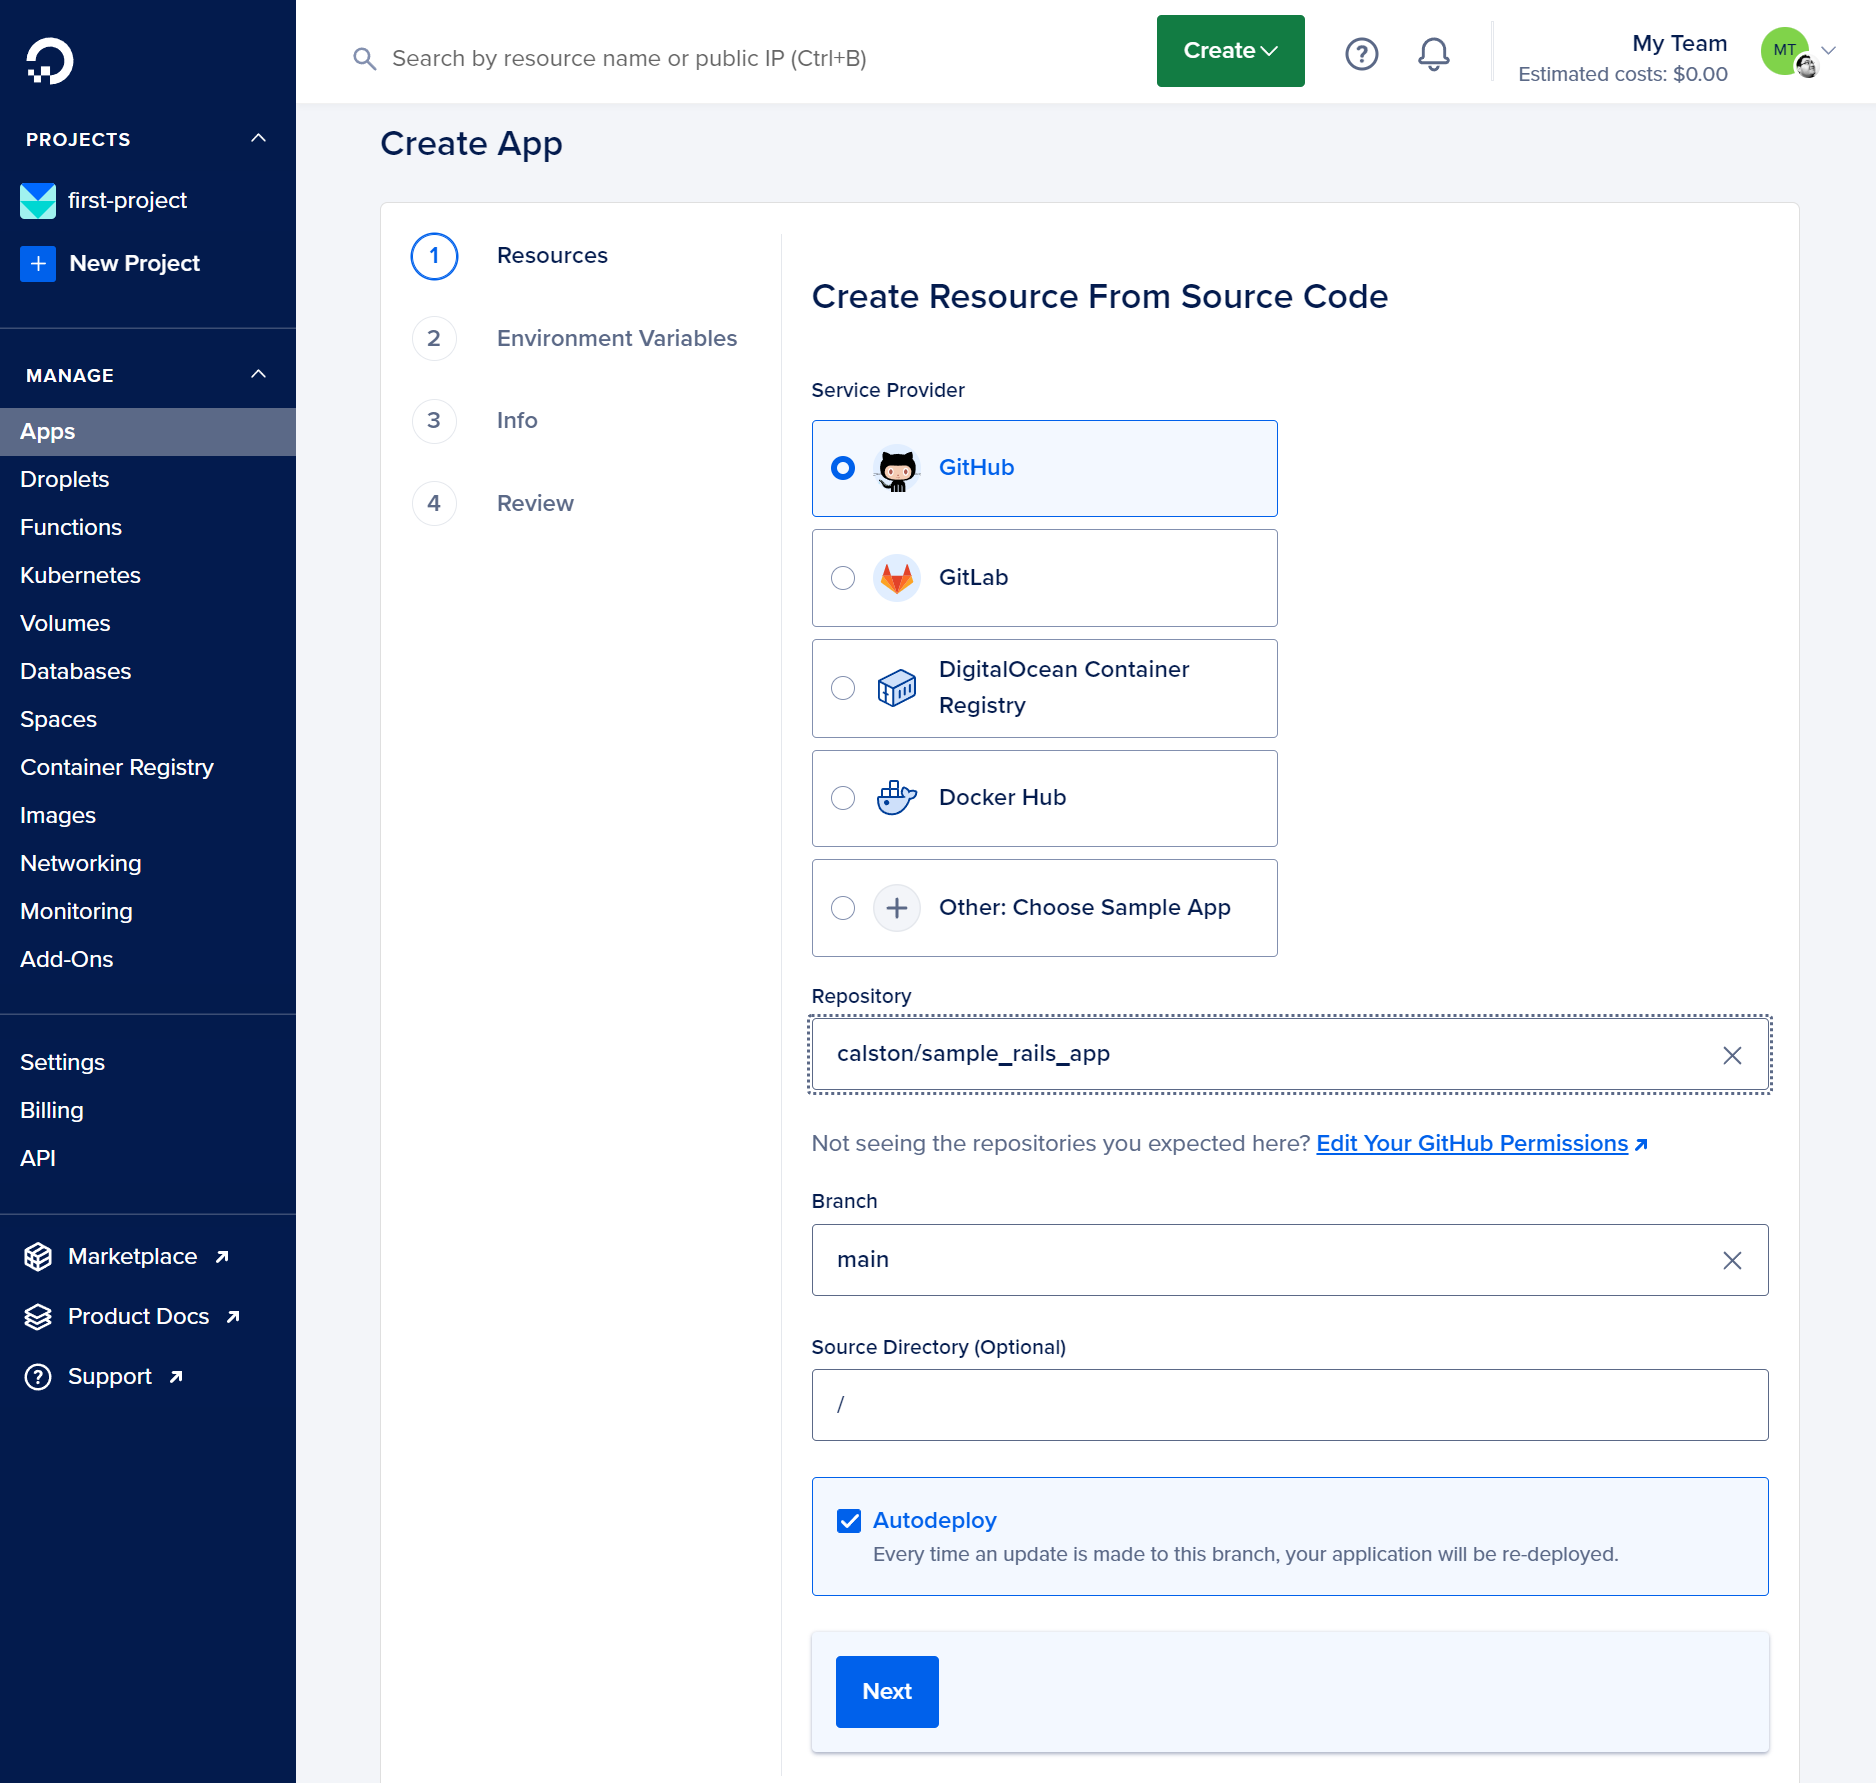
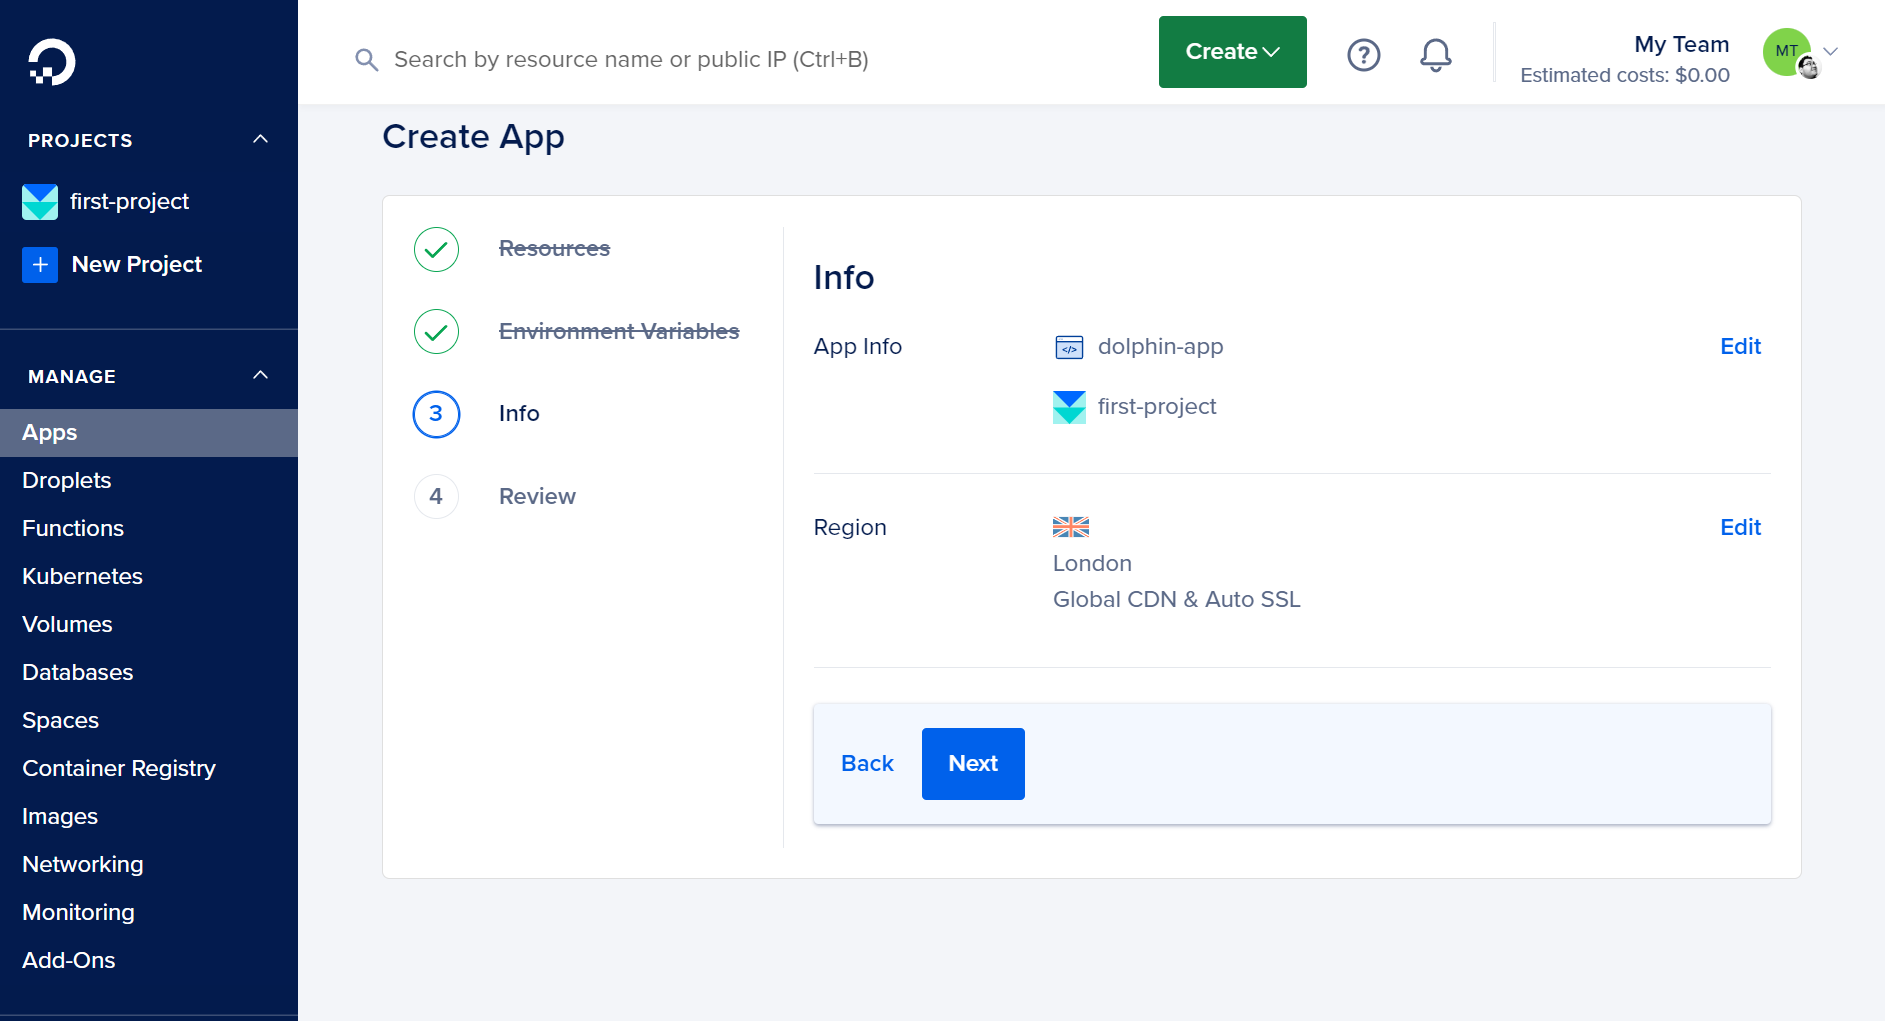
Click Next to continue then Edit Plan to ensure we use the appropriate resources. We will start with a Basic plan and the smallest container size which should be sufficient.

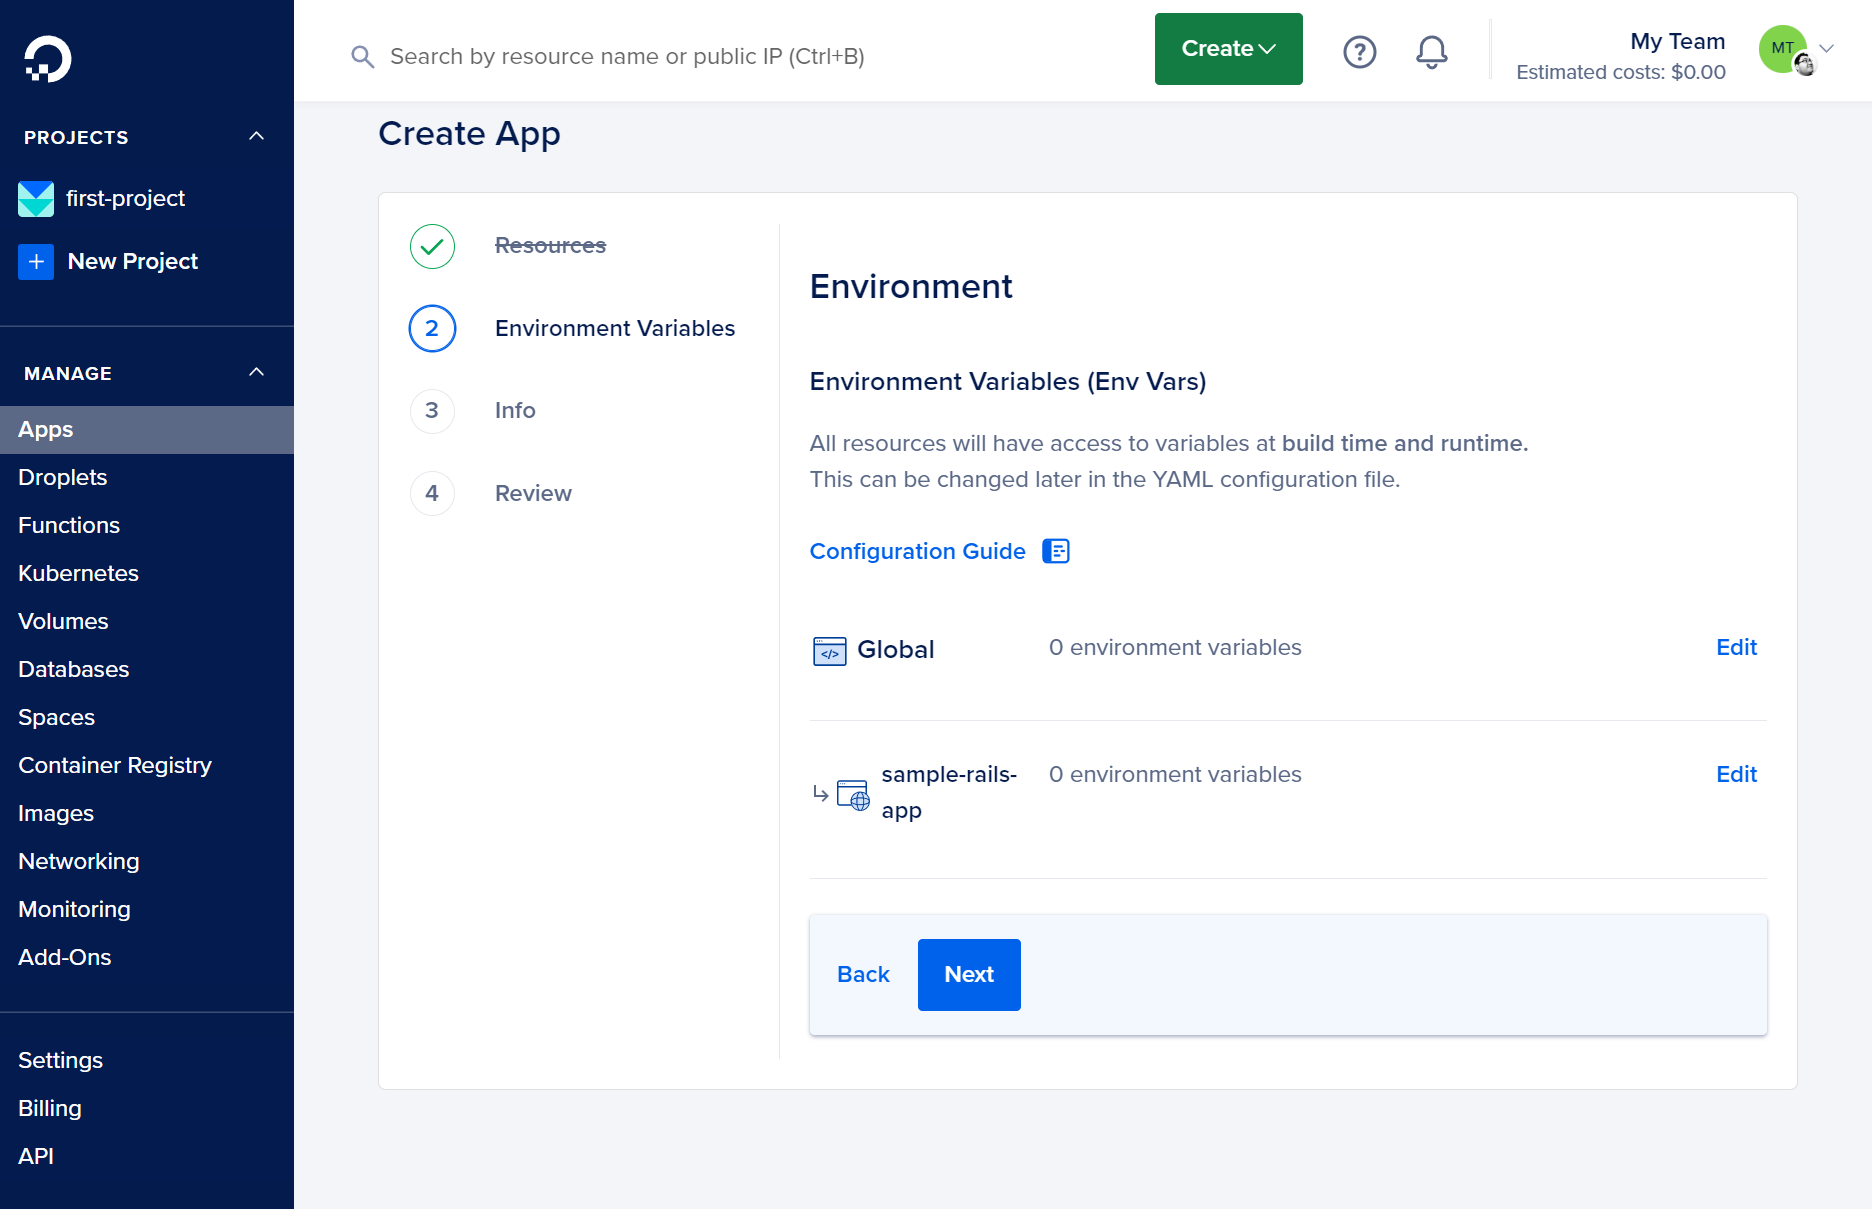
Continue through the next steps until the end. We should not need to change anything else.
Deploying our Rails application
Wait for the application to build, you can view realtime logs of the process while it happens.
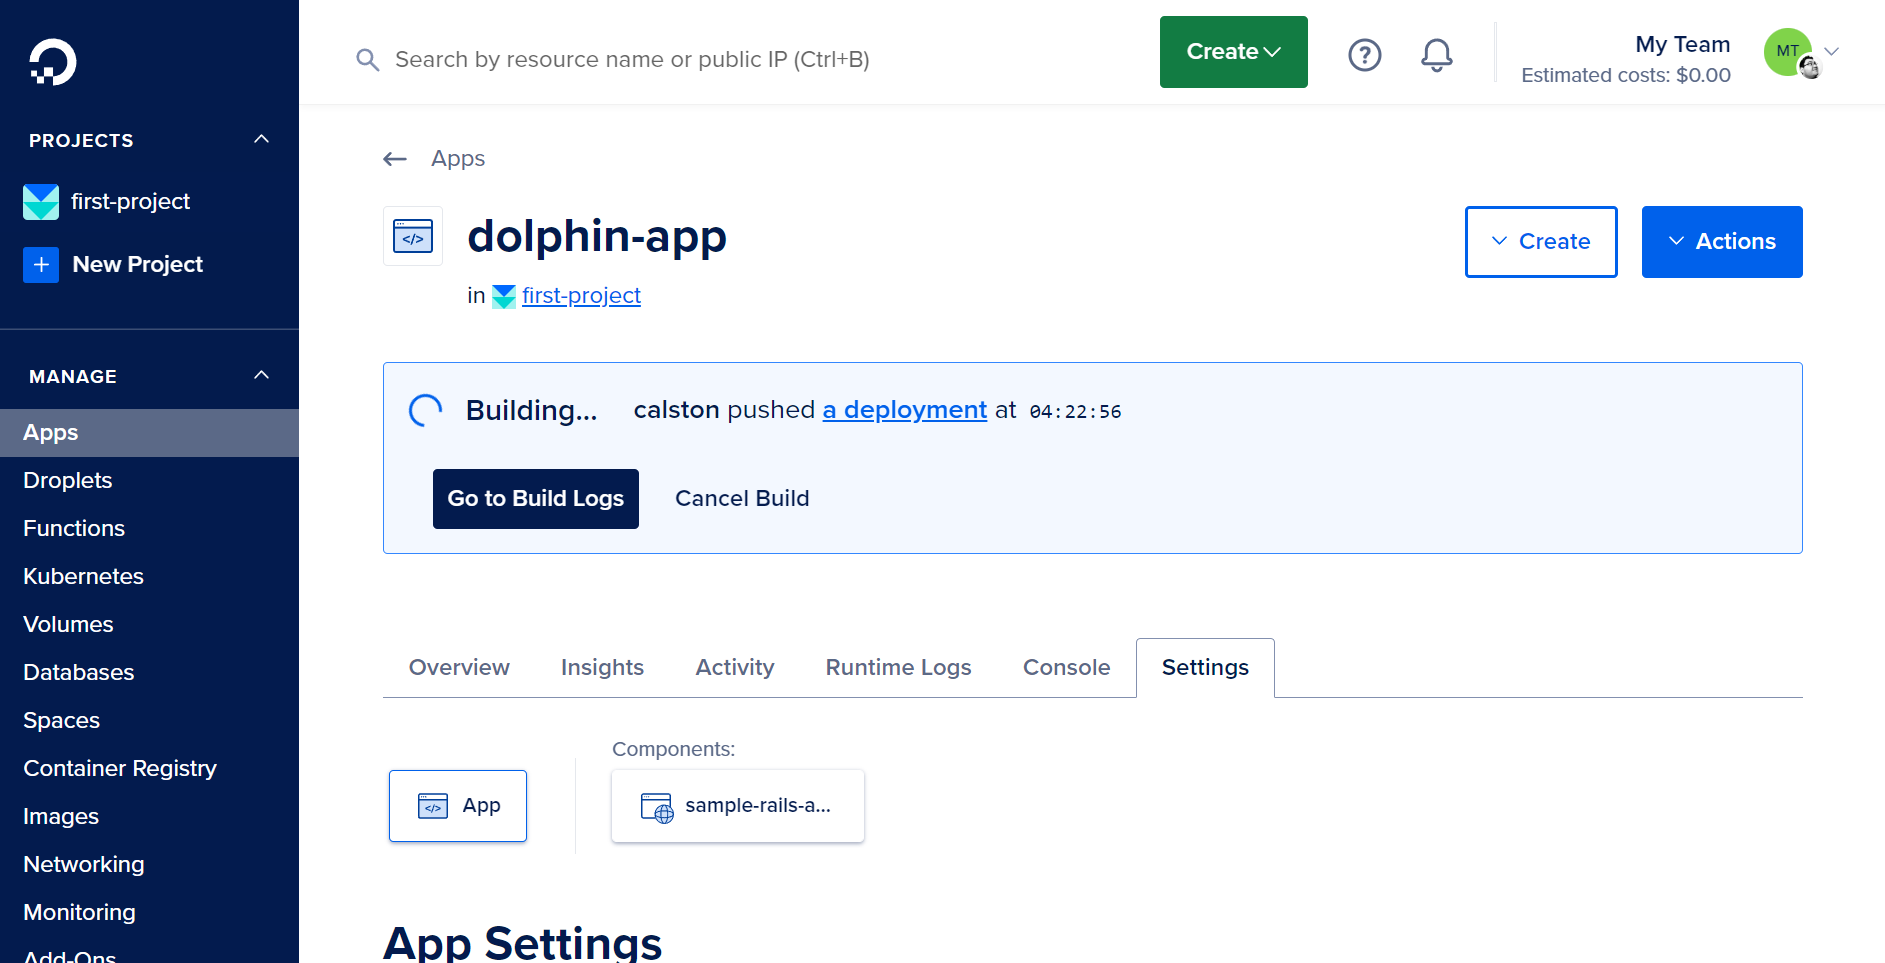
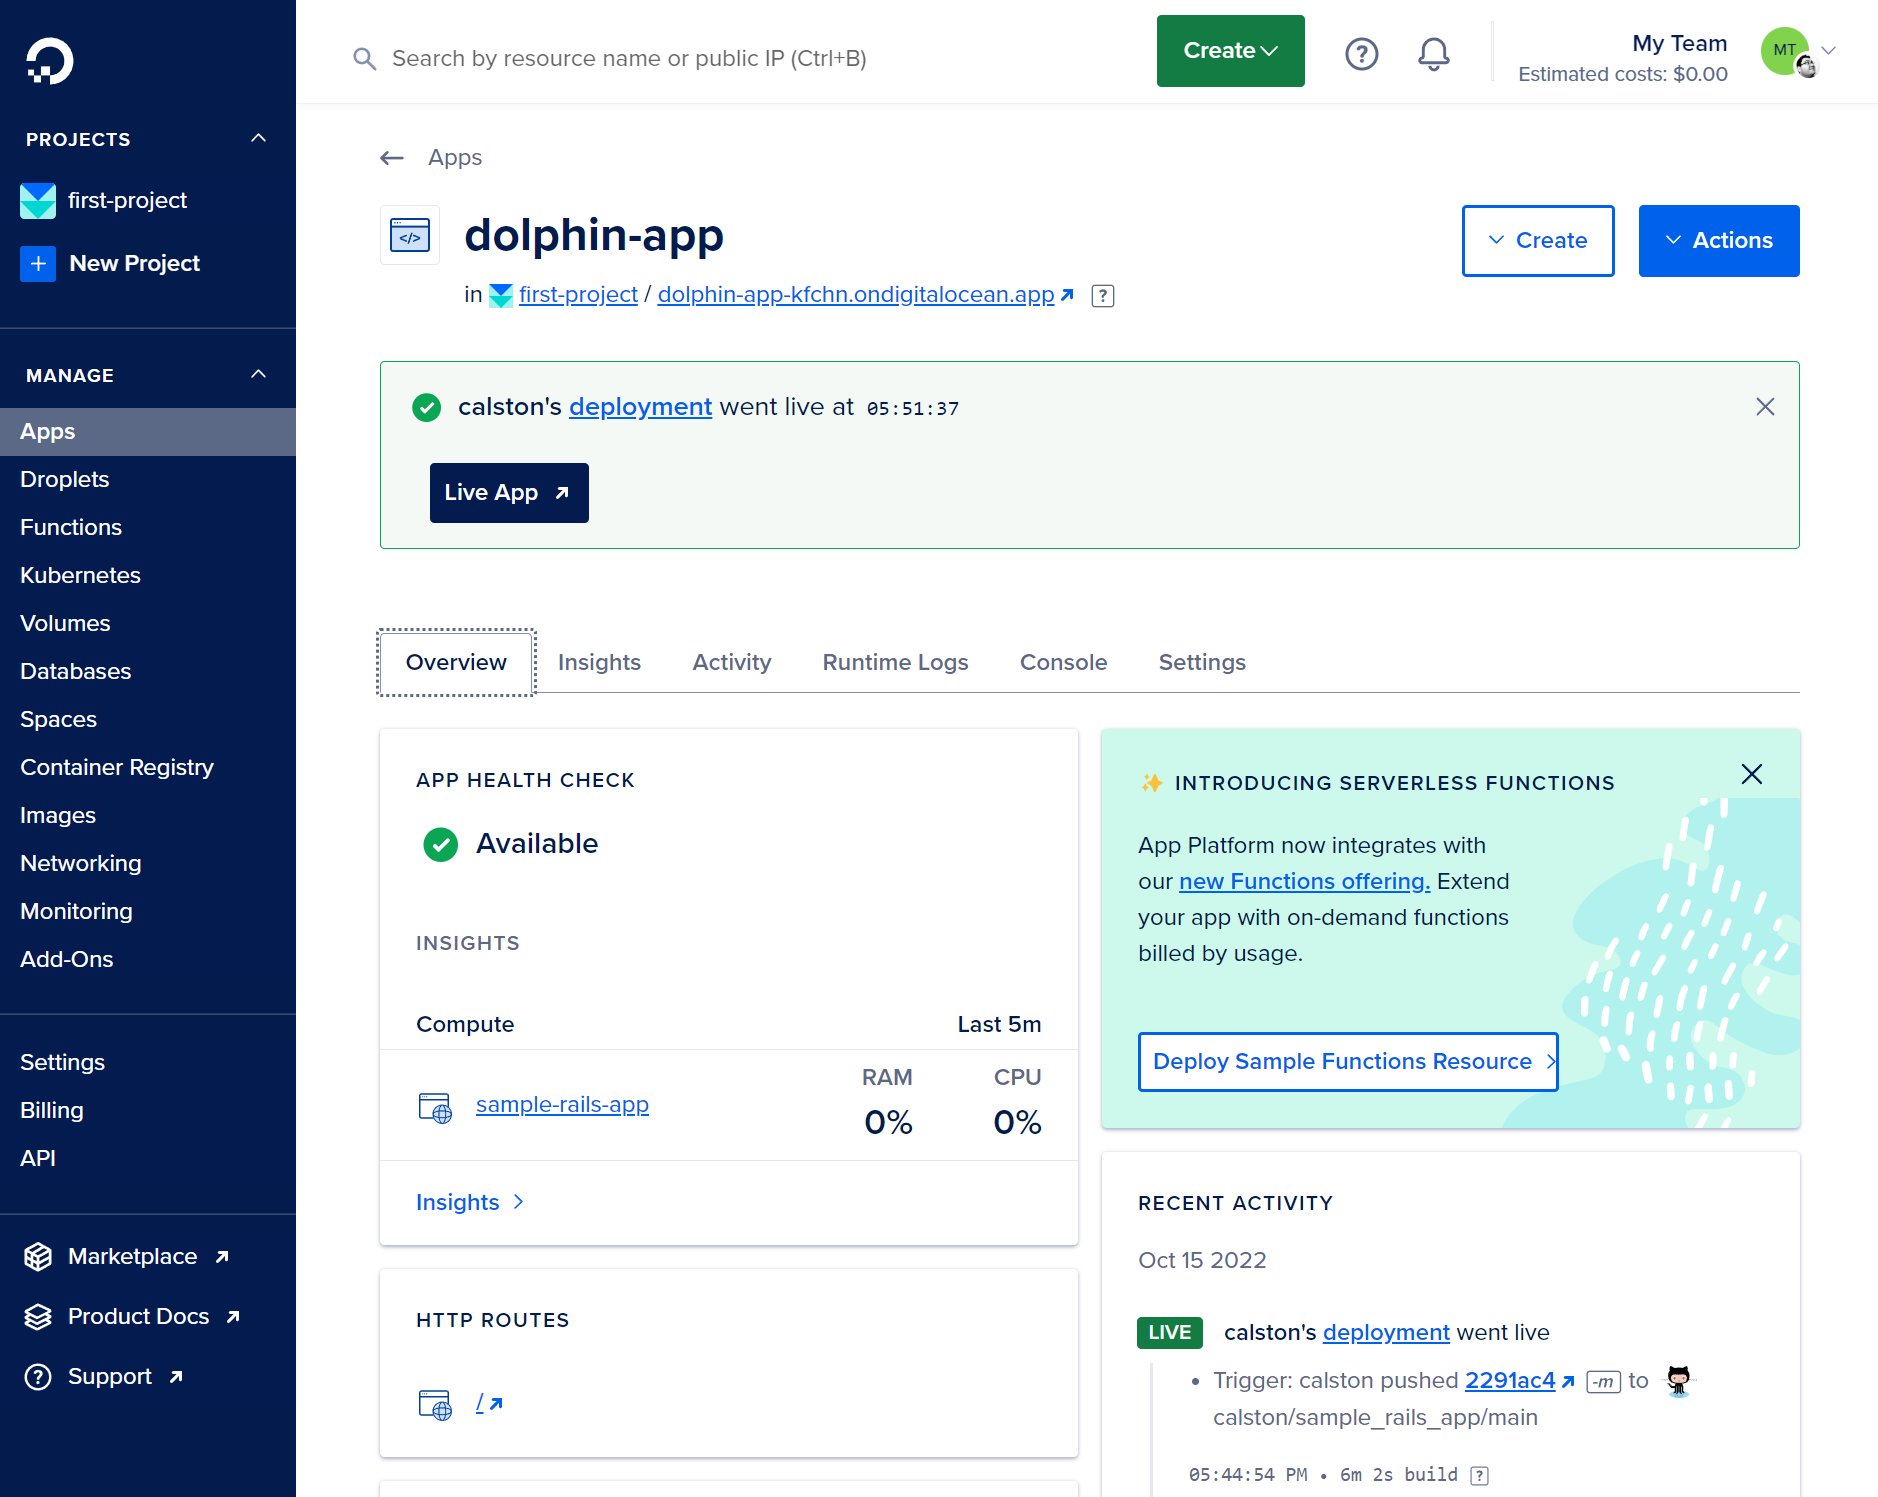
If all went well you should see your application is available, however it still needs to be initialized and have a database added.
Click on Create and Create/Attach Database to connect a PostgreSQL database.
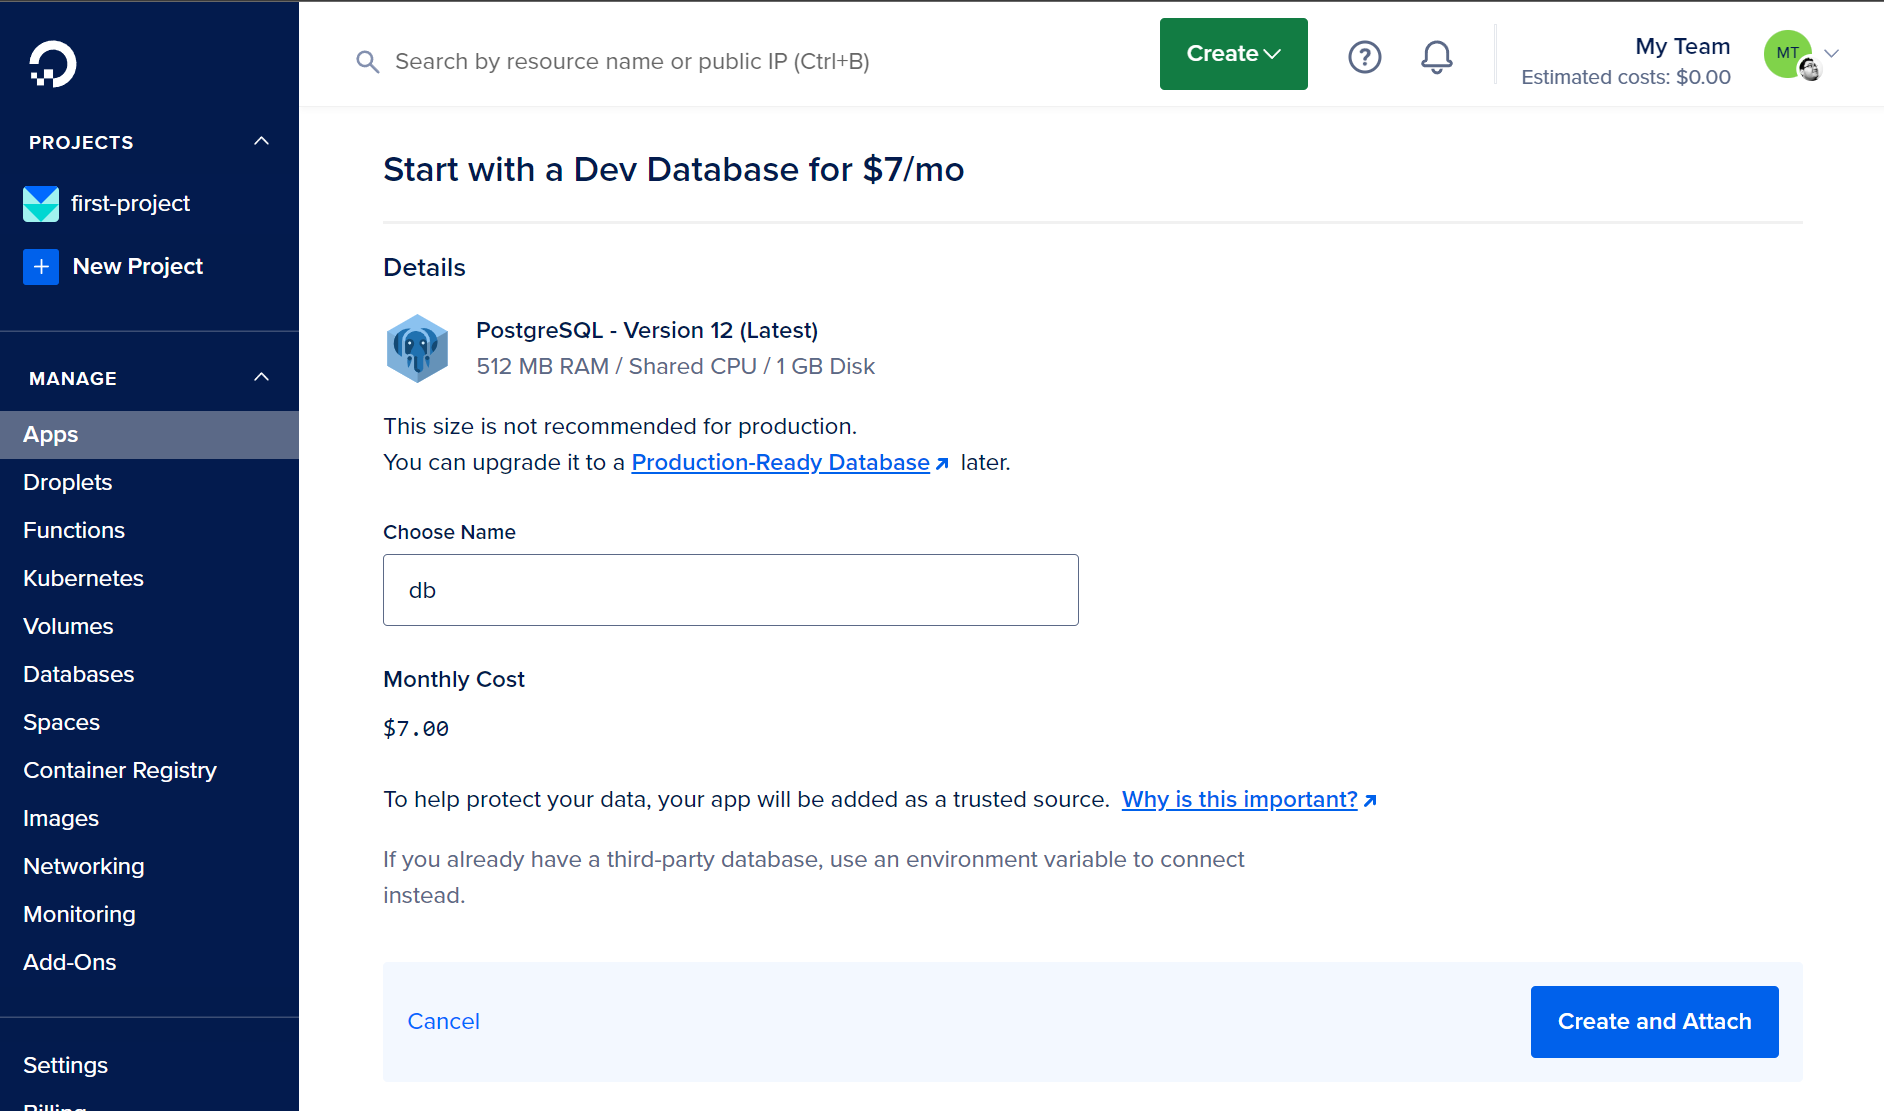
The application will automatically be configured with the database credentials
Configuration
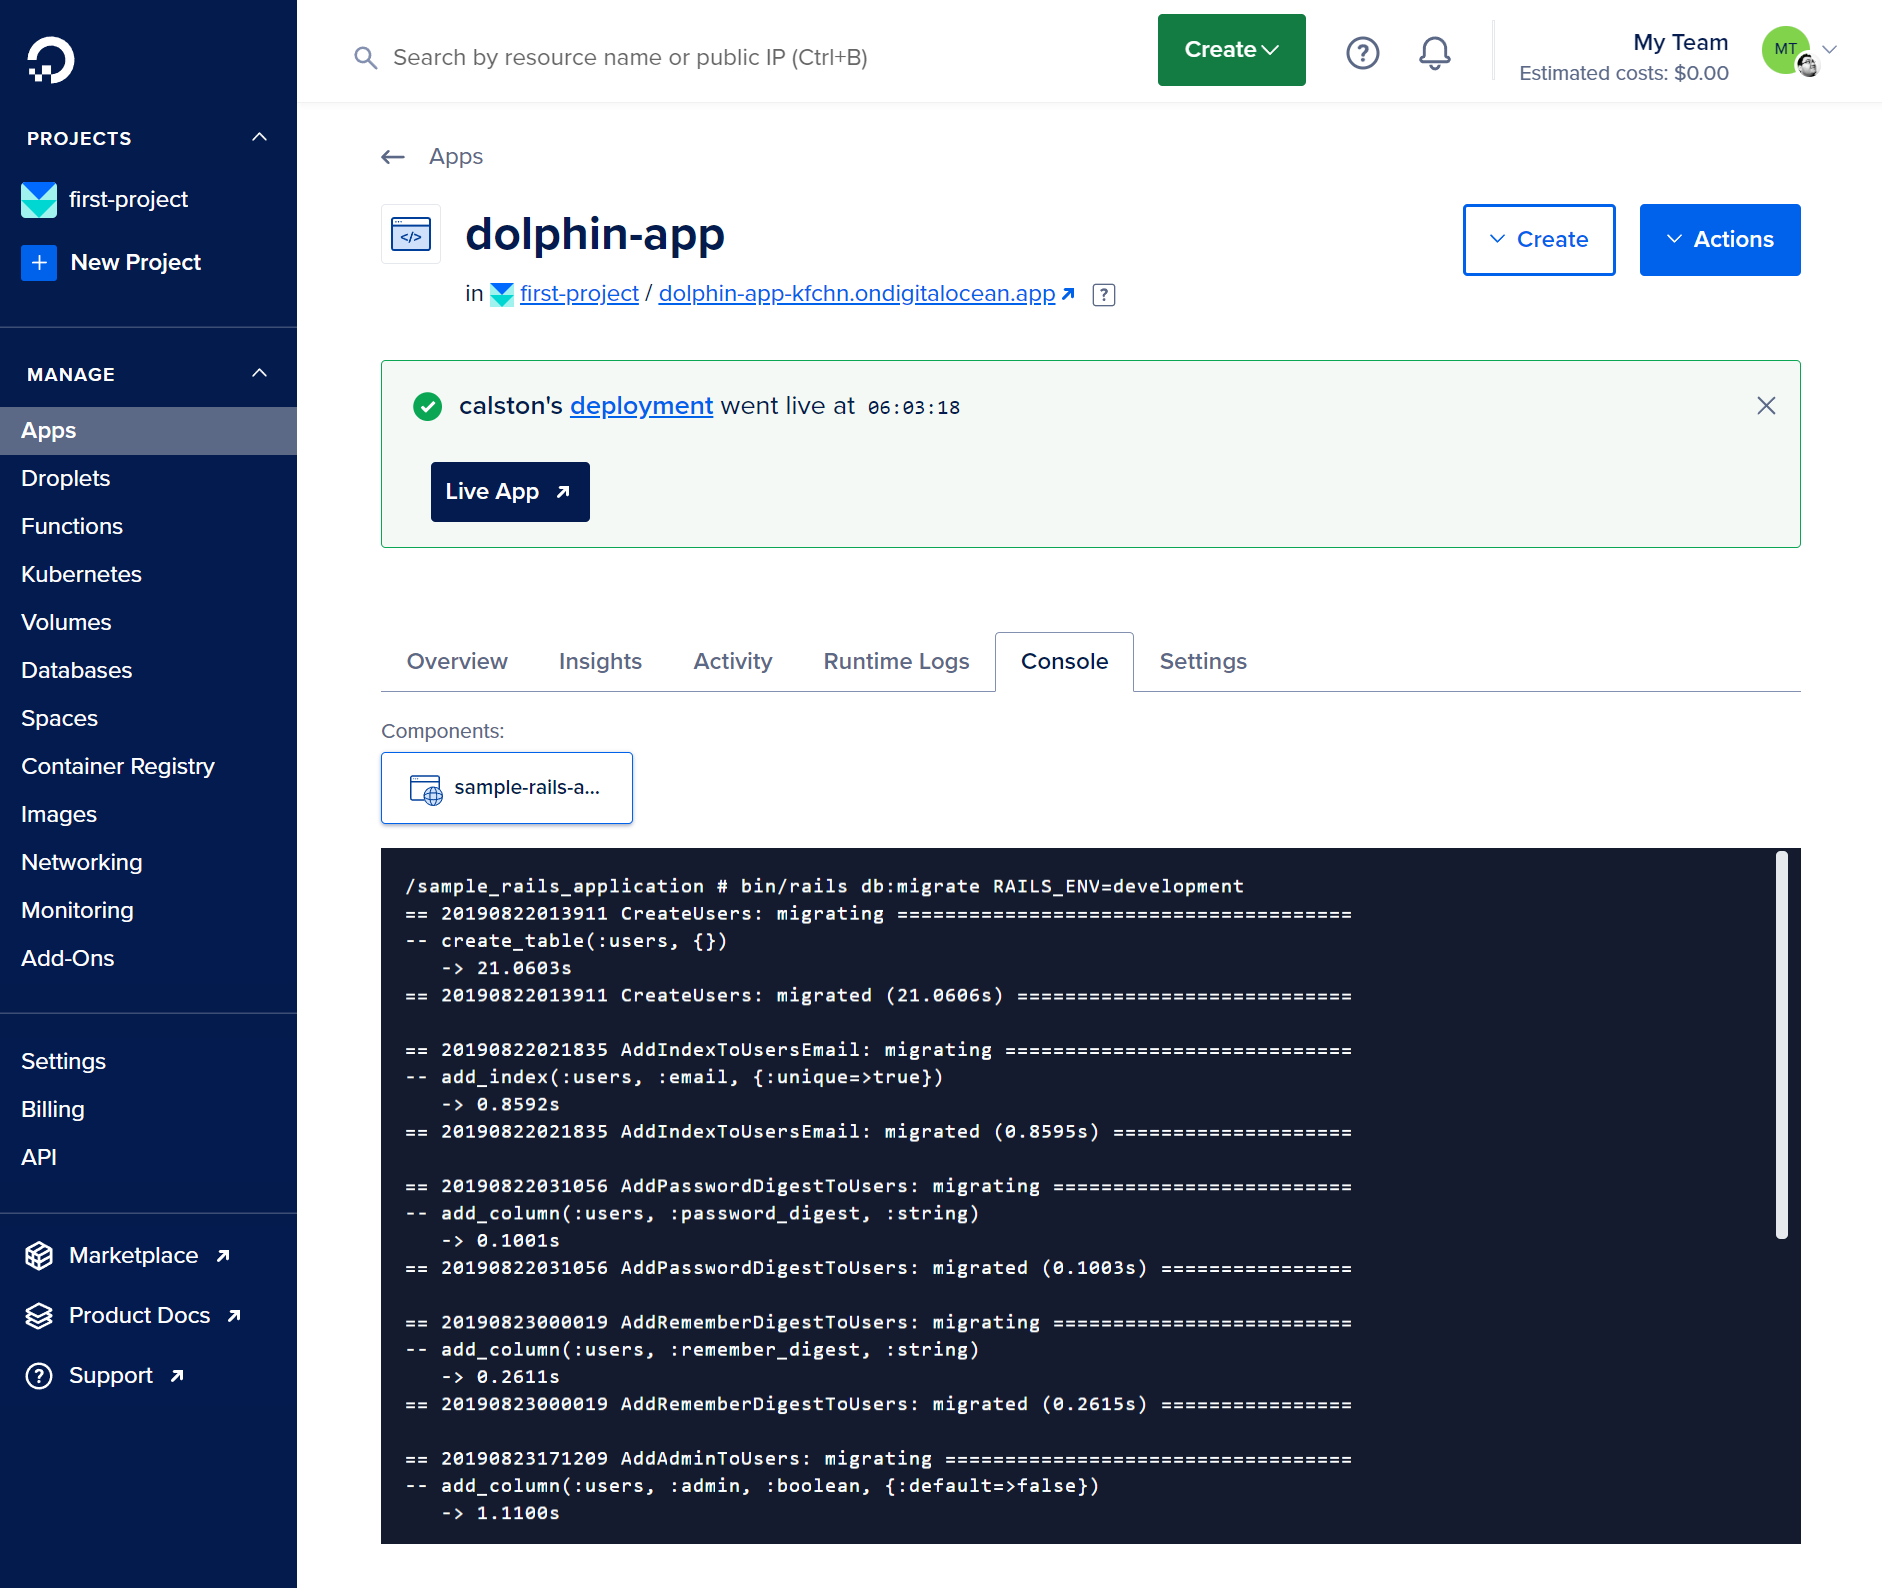
You can now head to the Console to access your application container and setup the database.
Type rails db:migrate into the terminal and press Enter. You should see the database being setup with the Rails schema.
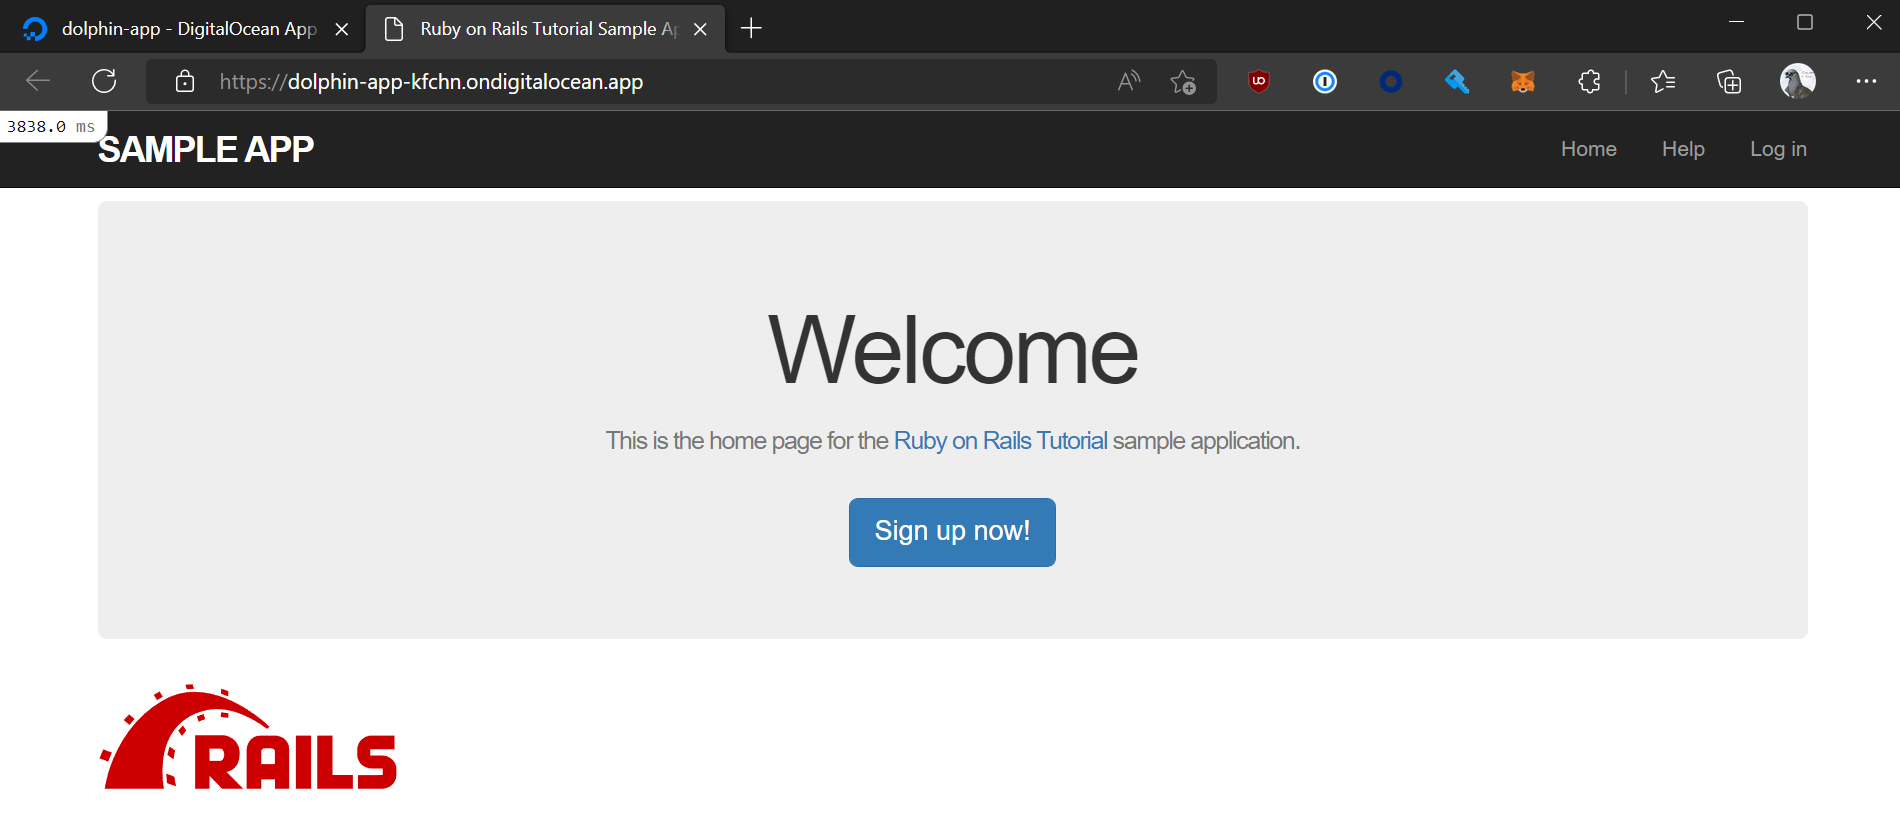
If all went well you should now be able to click on the Live App button which links to the live server.
Conclusion
Your Rails app is now running in the cloud on DigitalOcean. You can push your changes to GitHub and they’ll show up automatically the live URL after some time. Share the URL to show off your app to your friends!
Keep an eye out when your free credits run out and delete the app if you no longer need it.
If you’re ever stuck during a guide, please ask your coach for help and also consult this handy cheatsheet for Ruby, Rails, the console, the Text Editor etc.
Guides
- Guide 1: Start of the guide
- Guide 2: Get to know the tools
- Guide 3: Guide to install Rails
- Guide 4: Build Your First App
- Guide 5: Style your app using HTML and CSS
- Guide 6: Add a new page to your app
- Guide 7: Add a new homepage to your app
- Guide 8: Add picture uploads
- Guide 9: Push Your App to GitHub
- Guide 10: Put your app online with one of these services:
- Fly.io
- Heroku
- DigitalOcean (Current page!)
- OpenShift
- Anynines
- Engine Yard
- Guide 11: Style the idea pages using HTML and CSS
- Guide 12: Add comments to your app
- Guide 13: Create picture thumbnails
- Guide 14: Test your app with RSpec